
- Your cart is empty
- Continue Shopping
How to Roll Without a Machine: Beginner’s Complete Guide
- Posted on
-
Posted by: Blaze Jax
- 0 comments
- Categories: How-To Guides
Affiliate Disclosure: This post may contain affiliate links. We may earn a small commission if you purchase through our links at no extra cost to you.
Quick Answer
To hand-roll without a machine: grind your material, make a crutch from the paper booklet’s cardboard tip, fill the paper with an even line of material, pinch the paper between fingers and thumbs, roll the material into a cylinder using a back-and-forth motion, tuck the non-gum side under the cylinder, then roll up and seal with the gum strip. Takes practice — your first five rolls will look different from your twentieth.
Rolling by hand is a skill. Unlike using a rolling machine, hand-rolling requires developing a feel for how the paper moves, how much tension to apply, and how to shape the material before the paper goes on. Most people’s first few attempts don’t look great — that’s normal. Within a week of practice, most beginners can produce a consistently smooth result.
What You Need
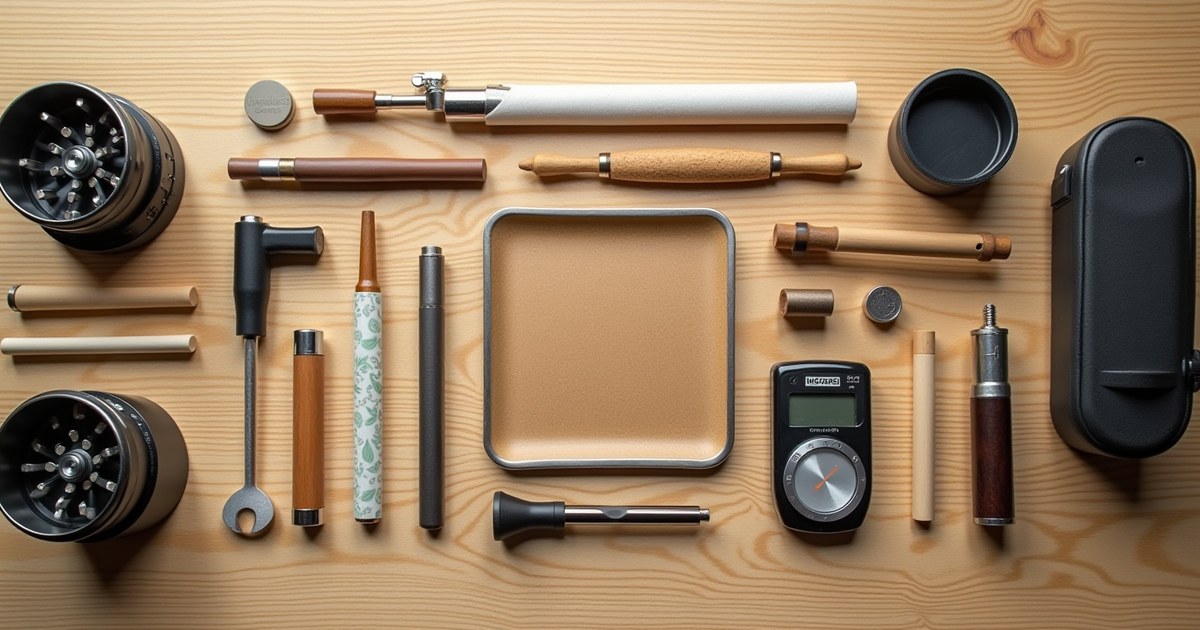
- Rolling papers — king size or 1¼ (king size is easier for beginners due to extra material)
- A grinder — ground material rolls far more evenly than broken-up chunks
- A crutch/filter tip — the cardboard tip included in most paper booklets, or a thin strip of card
- A rolling tray or flat surface — keeps everything contained and gives a consistent workspace
Everything You Need — In Stock at The Smokery Hub
Step-by-Step: How to Roll by Hand
Step 1: Grind Your Material
Don’t skip this step. Well-ground material distributes evenly inside the paper and creates a uniform cylinder. Chunks and stems create bumps that cause the paper to wrinkle or run unevenly. Grind to a medium-fine consistency — not powder, but no large pieces.
Step 2: Make Your Crutch
A crutch keeps the end of your roll open and gives you something to hold. Most rolling paper booklets include perforated cardboard tips. Make two or three small accordion folds at one end, then roll the remaining strip around the zigzag core to form a cylinder. The finished crutch should be roughly the same diameter as your intended roll.
Step 3: Set Up the Paper
Hold the rolling paper with the gum strip at the top and facing you. Create a trough shape by pinching the paper into a curved U shape with both thumbs on the outside and forefingers on the inside. Place the crutch at one end — the crutch sits at the far end of the paper, not in the middle.
Step 4: Fill the Paper
Sprinkle your ground material into the paper trough in an even line from the crutch end to the other end, leaving about 0.5–1cm empty at the non-crutch end for a twist-point. A typical king-size roll uses 0.7–1g. Don’t overfill — it’s harder to roll and produces a tight draw.
Step 5: Shape the Material
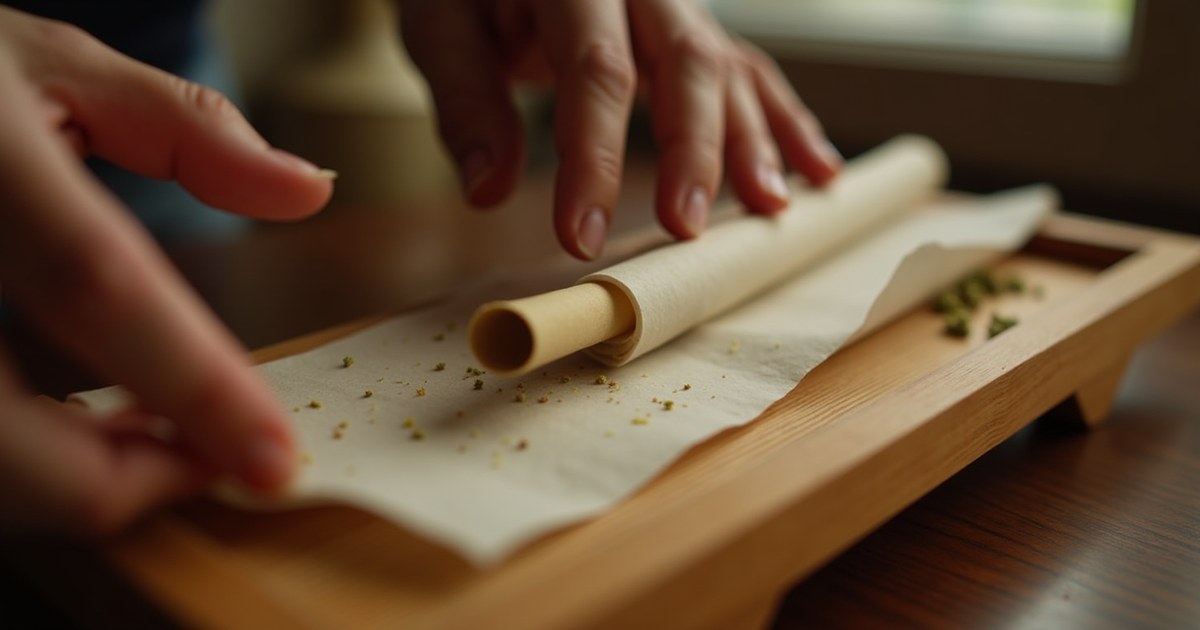
This is the most important step that beginners skip. Before the paper touches the material on both sides, use your thumbs and forefingers to roll the filled paper back and forth, compressing and shaping the material into a cylinder inside the paper trough. Roll gently for 10–15 seconds until the material feels firmly cylindrical.
Step 6: Roll and Tuck
Once the material is shaped, roll the bottom edge (non-gum side) up and over the material, tucking it under the cylinder. Use your thumbs to push the bottom edge under while your forefingers hold the shape from behind. Work from the crutch end toward the tip to keep the tuck even.
Step 7: Roll Up and Seal
Lick the gum strip lightly — just enough moisture to activate the adhesive. Roll the gum strip down onto the paper below it to seal. Press along the length of the roll to ensure the gum adheres fully.
Step 8: Finish the Roll
Twist the open tip of the roll to close it. Gently pack any loose material toward the crutch end by tapping the crutch end on a hard surface. Your roll is ready.
Common Mistakes and How to Fix Them
| Problem | Cause | Fix |
|---|---|---|
| Roll is too loose | Insufficient shaping in Step 5 | Spend more time rolling material into cylinder before tucking |
| Uneven / banana-shaped | Uneven fill | Distribute material more evenly along the paper |
| Paper tears during tuck | Too much moisture / paper too dry | Less moisture on gum; use fresh papers |
| Material falls out of tip | Roll too loose / tip not twisted | Pack more firmly; twist tip tighter |
Related Articles
Frequently Asked Questions
How long does it take to learn to roll?
Most beginners can produce a functional roll within their first 3–5 attempts. Consistently smooth rolls typically take 1–2 weeks of regular practice.
Is king size or 1¼ easier for beginners?
King size is easier — more paper means more room to correct your grip and tuck. Once the technique is natural, 1¼ produces a smaller, cleaner roll for solo sessions.
What rolling papers are easiest for beginners?
Medium-thickness papers like RAW Classic are the easiest — thick enough not to tear easily, thin enough to roll cleanly. Ultra-thin papers like RAW Black are harder to handle and better suited to experienced rollers.
Do I need a rolling tray to hand-roll?
Not strictly, but a rolling tray gives you a flat, clean surface that catches any material that falls out and makes the whole process cleaner and easier to control.
Final Thoughts
Hand-rolling is a skill that improves with repetition. The shaping step — compressing the material into a cylinder before attempting the tuck — is what separates consistent rolls from lumpy ones, and it’s the step most beginners skip. Practise that motion specifically, and the rest of the technique will fall into place quickly.
Get Your Rolling Papers and Accessories
Browse rolling papers, tips, trays, and grinders — everything you need to get started, all in one place.
This guide is for informational purposes only. The Smokery Hub is not responsible for third-party product availability or pricing changes.
beginner rolling guide step by step, how to hand roll a joint, how to roll a joint for beginners, how to roll without a rolling machine, rolling by hand tutorial